

Last Updated: October 30, 2026
Quick Summary
To design custom apparel, start with a clear concept and mood board before opening any design tool, then choose software that exports the file format your printer requires. Build your design in layers at final print size, export print-ready artwork at 300 DPI, and inspect a sample before committing to a full order.
- Collect 10-15 images, note your recurring colors, and list 3-5 vibe words for your mood board.
- A standard front chest print is roughly 25-30 cm wide; full back prints are larger.
- Keep text at least 2.5 cm from any seam or edge on templates.
- Export at 300 DPI at final print size and never upscale a small file.
- Wash-test one sample inside out in cold water before a full run.
Table of Contents
- Start with a Clear Concept for Your Custom Apparel
- Choose the Right Custom Apparel Design Software
- Use Custom T-Shirt Design Templates to Move Faster
- Prepare Print-Ready Artwork and Choose a Decoration Method
- Custom Clothing Design Tips for Fabric, Fit, and Color
- Order a Sample and Review It Like a Pro
- Frequently Asked Questions
Start with a Clear Concept for Your Custom Apparel
Learning how to design custom apparel starts with one idea, not one tool. The global custom apparel market was projected to reach between $54.9 billion and $59.75 billion in 2025, with forecasts rising to $145.9 billion by 2033, according to T-Shirt Envy's custom apparel industry trends report.
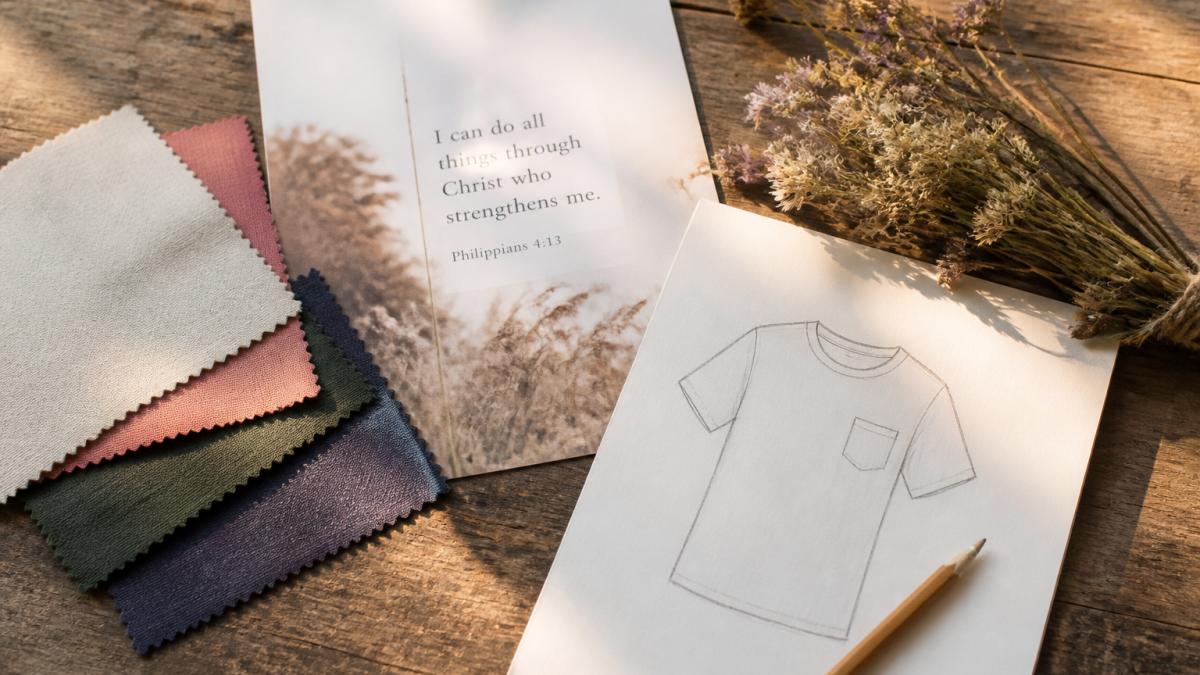
At The Vintage Crafter, LLC, we build every piece around a story: a name, a verse, a date, a memory.
Most beginners fail at the concept stage, not the design stage. They open a tool too early, pick a template, and end up with something generic.
Build a Mood Board Before You Open Any Tool
A mood board is a collection of images, colors, fonts, and phrases that captures the feeling you want. It costs nothing and saves hours.
- Collect 10-15 images that match your idea. Screenshots are fine.
- Note the colors you keep returning to. Write down the hex codes if you can.
- List 3-5 words that describe the vibe: rustic, bold, vintage, clean, playful.
- Save 2-3 font styles you like. Serif feels traditional; sans-serif feels modern.
- Write one sentence describing who wears this and where.
Research on apparel designers' idea development processes shows that designers rely heavily on structured idea development before production.
If you want to see how finished concepts translate into real designs, browse our custom images gallery before you start sketching.
Choose the Right Custom Apparel Design Software
Custom apparel design software is any tool that lets you place artwork on a garment mockup and export a print-ready file, free browser tools, paid design suites, and the design interfaces built into print shops.
The right pick depends on how much control you need over the final file. For text and a simple graphic, a free tool works. For layered artwork, exact color matching, or vector output, you need more.
Match the Tool to Your End Product
- Simple text and one-color logo: a free browser editor with a live mockup is enough. You need a clean PNG export at 300 DPI.
- Multi-color illustrated design: you need layered editing, color separation, and vector export (SVG, PDF, or AI).
- Photo-based or full-color art: you need high-resolution raster handling and transparency control, usually a paid suite or a print shop's uploader.
A common beginner mistake is choosing software by brand recognition instead of by the file the printer will accept. Ask your print provider what format they require first, then pick the tool that produces it.
Free vs. Paid Tools: What Beginners Actually Need
Beginners need three things from software: an easy upload, a live preview, and a high-resolution export. Most free tools cover the first two and quietly fail the third.
| Need | Free Tools | Paid Tools |
|---|---|---|
| Upload artwork | Yes | Yes |
| Live garment preview | Usually | Yes |
| Vector export | Rarely | Yes |
| Exact color matching | No | Yes |
| Layered file editing | Limited | Yes |
| Size and name management for teams | Rarely | Yes |
| Best for | Simple text and logos | Complex, print-ready art |
A common mistake is paying for software before you know your print method. If you would rather skip the software search entirely, our customise it tool lets you start designing straight away.
A Beginner-Friendly Design Workflow, Start to Finish
Most guides jump from "pick a tool" to "upload art." Here is the workflow that prevents rework:
- Lock the concept. Finish your mood board and one-sentence brief before opening any editor.
- Choose the garment and print area. Know the shirt, the color, and the print dimensions (a standard front chest print is roughly 25-30 cm wide; a full back print is larger).
- Set up the canvas at final print size. Work at real dimensions so text and spacing scale correctly.
- Build in layers. Keep text, graphics, and background separate so you can edit one without rebuilding the rest.
- Check contrast on the actual garment color. A design that pops on white can vanish on charcoal.
- Preview at arm's length and at thumbnail size. If it does not read small, it will not read on a shirt.
- Export to the printer's spec. Confirm format, resolution, color mode, and transparency before uploading.
- Save the source file. You will want it for reorders, size runs, and color tweaks.
What to Check Before You Export
Run this quick pre-flight before sending anything to a printer:
- Resolution is 300 DPI at final print size, not upscaled from a small image
- Background is transparent, not a white box
- Text is converted to outlines or the font is embedded
If you want to see how finished concepts translate into real designs, browse our custom images gallery before you start sketching.
Use Custom T-Shirt Design Templates to Move Faster
Custom t-shirt design templates are pre-built layouts with set text and image zones.
Templates work best as a starting point, not a finished product. Swap the font, adjust spacing, and make the layout yours.
- Pick a template that matches your mood board colors
- Replace placeholder text with your real wording
- Keep text at least 2.5 cm from any seam or edge
A 2026 study on intelligent clothing customization systems describes how automated design assistance speeds up personalization.
You can explore customizable t-shirts on our customizable t-shirt page and apply your own idea right away.

Prepare Print-Ready Artwork and Choose a Decoration Method
Print-ready artwork is a file with the correct resolution, color mode, and transparent background for your chosen print method. Get this wrong and even a beautiful design prints soft, muddy, or cropped.
The custom T-shirt printing market was estimated at USD 5.1 billion in 2026 and is forecast to grow at a 9.3% compound annual rate through 2036, according to Custom Market Insights' printing market report.
File Formats, Resolution, and Color Modes
- Format: PNG for raster art, SVG or PDF for vector art
- Resolution: 300 DPI at final print size, never upscaled from a small file
- Color mode: RGB for on-screen previews, CMYK or spot colors for screen printing
Watch out: a 72 DPI image pulled from a website will look fine on screen and print blurry at 30 cm wide. Always check the file's pixel dimensions before uploading.
Compare Decoration Methods by Fabric, Durability, and Order Size
Use this comparison to match the method to your garment and your quantity.
| Method | Best fabrics | Durability | Setup logic | Best order size | File needs |
|---|---|---|---|---|---|
| Screen printing | Cotton and cotton blends | Very good; survives many washes when cured correctly | Higher setup per color; cost drops as quantity rises | Larger runs | Vector or high-res art with limited colors |
| Direct-to-garment (DTG) | 100% cotton and high-cotton blends | Good; softer hand feel, can fade over time | Little to no setup; per-piece cost stays steady | Small to medium runs | High-res PNG, transparent background |
| Heat transfer / DTF | Most fabrics, including poly blends | Good; can crack if stretched or washed hot | Low setup; per-piece cost steady | Small batches and one-offs | High-res PNG, transparent background |
| Sublimation | Light-colored polyester and poly blends | Excellent; dye bonds to fiber, no cracking | Low setup; per-piece cost steady | Small to large runs on poly | High-res art; colors designed for poly |
| Embroidery | Wovens, knits, caps, polos | Excellent; thread holds up to repeated washing | Digitizing setup per design; cost drops with quantity | Small to large runs | Vector or clean raster for digitizing |
Match the Method to the Garment, Not Just the Artwork
The same design can succeed or fail depending on the blank it lands on:
Sampling and Quality Checks by Method
Each method fails in a predictable way, so inspect for the right thing:
Wash-test one sample before a full run: inside out, cold water, then inspect for fading, cracking, or lifting. A single wash test catches most method-specific failures before you commit to a larger order.
Custom Clothing Design Tips for Fabric, Fit, and Color
Custom clothing design tips that matter most come down to three things: the fabric, the fit, and the color. Design is only half the job. The garment carries the other half.
- Fit: check the size chart against a shirt you already own
- Color contrast: light text on dark fabric reads best; low-contrast designs disappear at a distance
- Placement: center chest sits highest on the garment; full back prints need more margin
The custom clothing market was valued at USD 71.67 billion in 2026 and is expected to reach USD 163.3 billion by 2035, according to Custom Clothing Market Share and Size. Buyers have more choices than ever, which makes fit and fabric the deciding factors.
Order a Sample and Review It Like a Pro
A sample is a single finished piece you inspect before committing to a full order.
Review it against a written checklist, not a feeling:
- Print is sharp at edges, no bleeding or cracking
- Colors match your approved file within reason
- Placement is centered and level
Compare your sample against finished examples so you know what "good" looks like. Our custom and vintage tees collection gives you finished pieces to compare against your sample.
Samples add time, so build that into your timeline before your deadline.
Designing custom apparel is not hard. Designing it well takes a clear concept, the right file, and a sample you actually inspect.
Get started with The Vintage Crafter, LLC and turn your idea into a finished garment you will actually wear.
Frequently Asked Questions
How do you design custom apparel if you have no drawing skills?
Start with a template and a clear concept. Pick a theme, gather reference images into a mood board, then use a beginner-friendly online designer that offers pre-made layouts for text, logos, and simple illustrations. Use a simple online designer to place your text or artwork and adjust placement and color. You do not need to draw anything from scratch. Focus on clean typography, one strong focal point, and enough negative space so the design reads clearly on a shirt.
What file format should I use for custom apparel artwork?
Ask the printer before you export. Vector files such as SVG, EPS, or AI scale without losing sharpness. For photo-based designs, use a high-resolution PNG with a transparent background at 300 DPI or higher. Avoid sending a screenshot or a low-resolution JPEG pulled from a website. If you are using custom apparel design software, check the export settings and confirm the color mode matches what the printer requests, usually CMYK for print or RGB for on-screen mockups.
How do I make a design work on both light and dark garment colors?
Design for contrast first. A single-color white or cream design disappears on a white tee, and black ink vanishes on a black shirt. Create two versions: one for light garments and one for dark, swapping ink colors rather than the whole layout. Add a thin outline or a light halo behind key elements when the design sits on a mid-tone fabric. Preview each version on the actual garment color in your design tool before ordering, and print a sample to confirm the contrast holds in real light.
How do I prepare artwork for a custom apparel order?
Export at the printer's requested size and resolution, keep a transparent background, and convert all text to outlines so fonts do not shift. Check that the artwork fits inside the printable area of the garment size you chose, leaving room for seams and hems. Name files clearly with the design name, garment color, and placement. If you are ordering a personalized piece, such as a customizable T-shirt, confirm spelling of names and dates before submitting. A five-minute file check prevents most reprints.
